

The e-commerce market is growing rapidly. Have you ever imagined why? After researching for hours, I found the answer. It’s because the photos of the products sold by these markets are being posted on various shopping websites and social media pages. The products are being showcased in such an eye-catching way that the customers are getting provoked for buying them. Online Background Change Service provider make your job easier.
How are they doing it?
The answer is quite simple, they are simply Change the Background in Photoshop of the product or you can also say that they are just making the background of the product transparent. They are doing this by using Photoshop.
You can also use Photoshop to make the background of your product transparent. It may sound tough but it is very easy. Most of you use the DIY method nowadays. So, only for your work to get easier, I have presented 5 effortless steps how to make background transparent in Photoshop.
The steps are given below. Just read them out and I assure you that you won’t be able to stop scrolling this page.
Step- 1
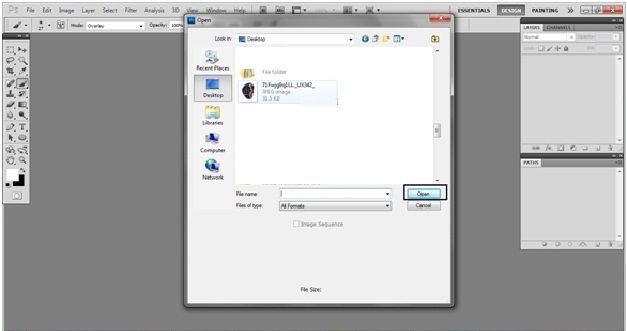
The first step is to open the photo of the product on the Photoshop application on your PC. CLICK the file option on the upper TAB of Photoshop, choose the OPEN option on the menu or press (Ctrl+O)
Step- 2
In this step choose the Product photo you want to make the background transparent of. An option will open in the screen from where you can choose the file from your PC. Choose the file and CLICK OPEN.

Step- 3
Next step is to choose the magic wand tool from the toolbar. To choose the magic wand tool, CLICK the Magic wand tool option from the left TOOLBAR.

Step- 4
After selecting the Magic wand tool, you have to click the background you want to remove. The Magic want tool selects the color that matches the selection. So, CLICK the White color background behind the product. Here, I am using the watch as my product.

Step- 5
After selecting the white background, you can see that the selection is being shown by dotted lines. It is around the watch which means it has selected the white background. So, you have to select the watch to remove its background. To do so CLICK the right button of the mouse then you will see an option on the screen. Then, click the INVERSE SELECTION option. Your product photo will get selected this way.

Step- 6
After selecting the inverse your product photo will be selected. Then, again CLICK the right button of the mouse and select LAYER VIA COPY option from the menu. This way you will find a new layer available in your layer tab. That layer will be the transparent background layer.

Step- 7
The last step is to choose the background layer from the layer TAB and CLICK the right button of the mouse. Then, select the DELETE option from the menu. Your old background will be removed and you will now have a new transparent background for your product.

Step- 8
In the end, CLICK the File option from the upper TAB and select the save as option or use (Ctrl+Shift+s). Choose the specific folder you want the photo to be saved in. Finally, your photo with a transparent background will be saved.
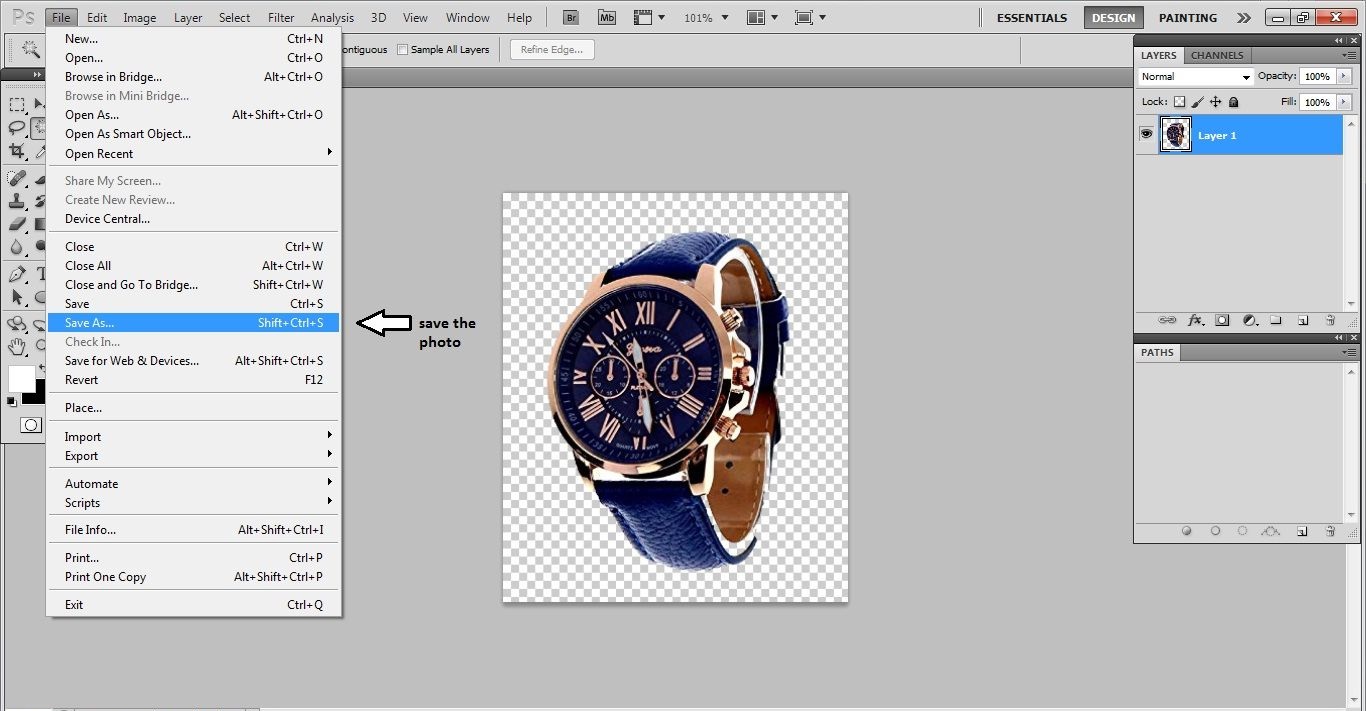
By following these simple steps you can make the background of your product’s image transparent. Then you can also post attractive photos of your product in different websites and can increase the turnover of your business by provoking lots of customers.