
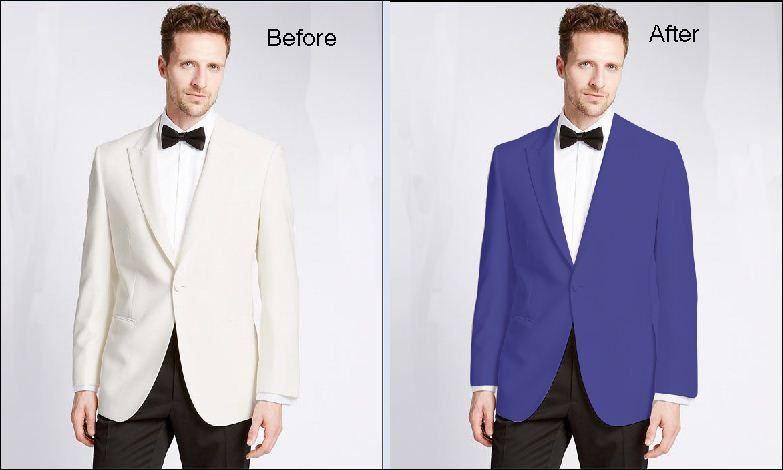
When you are a photographer and you have no time to shoot your models by changing their cloths, you have to face difficulty with your time and energy. Changing the dresses every time kills yours and the model’s time. You have to choose an alternative way that saves your time and energy. The alternative way for solving your problem is photo editing. There are many photo editing companies who give you various dress color without changing the color of skin tone. To give you a sigh of relief, we are going to show you some steps on how to change the dress color in Photoshop.

Adobe Photoshop has some amazing tools and techniques by which you will be able to give various colors to your dresses by following some easy steps. The steps of changing the dress color in Photoshop are very easy to implement. See the step-by-step process on changing dress color in Photoshop below.
Step 1:
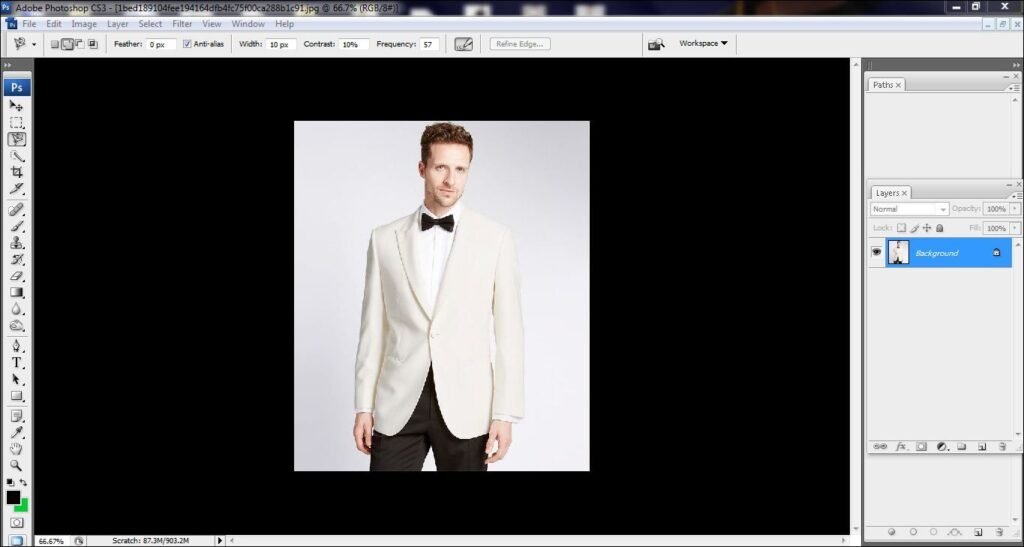
The first thing first is you have to have Adobe Photoshop installed in your computer system. So you have to open the file you want to work with in Adobe Photoshop. Select a proper photo to work with. To open the image in Photoshop, go to File>Open and select your desired file from the window and click on select. Apart from that, you can also open the photo by dragging it from the windows to Photoshop. By dragging the photo, your photo will appear on the Photoshop automatically.
Step 2
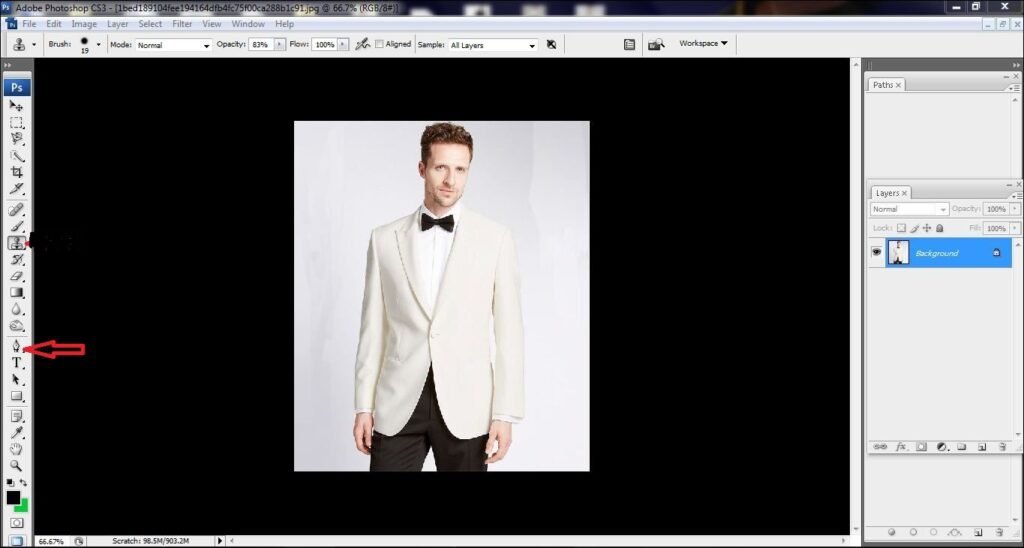
After opening the photo in Photoshop, you need to work on the clothing. The dress color changing technique is needed clipping path at the initial stage. You have to make draw a clipping path around the dress of your photograph. There are different tools that help you to create clipping path. Here, we are selecting pen tool for drawing the clipping path. To create clipping path you need to select pen tool. Pen tool is the best for drawing clipping path.
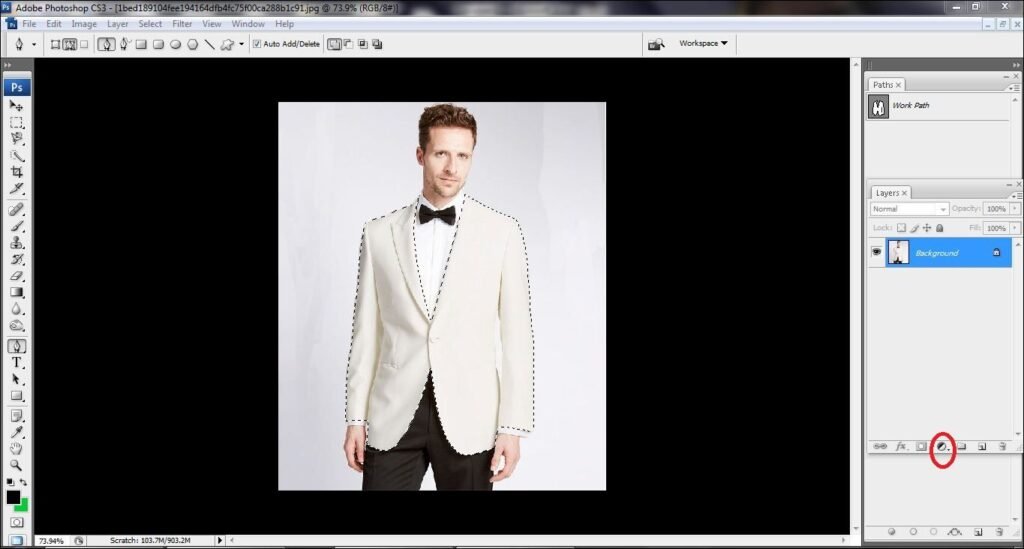
Step 3:
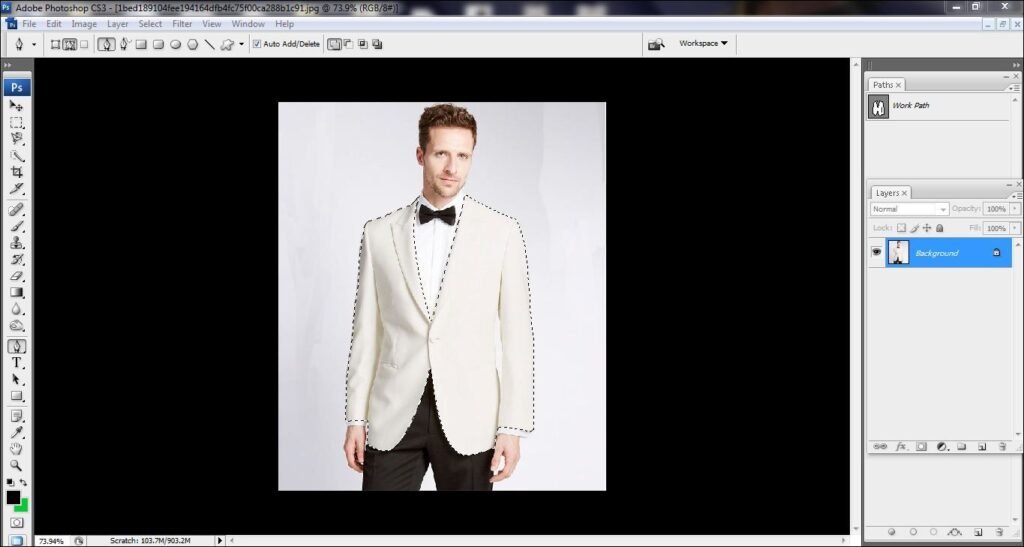
Pen tool gives you the precise clipping path which gives you the perfect shape. After selecting pen tool from the tool bar, you have to draw clipping mask around the dress. Keep drawing the line following the shapes and close the line from where it starts.

Step 4:
When you are done drawing the clipping path of your object, you need to make the selection of the dress. To make the selection, click on ‘path 1’ and press ‘ctrl+enter’. Doing that, the selected areas will be selected and your process for changing the dress color will be started.
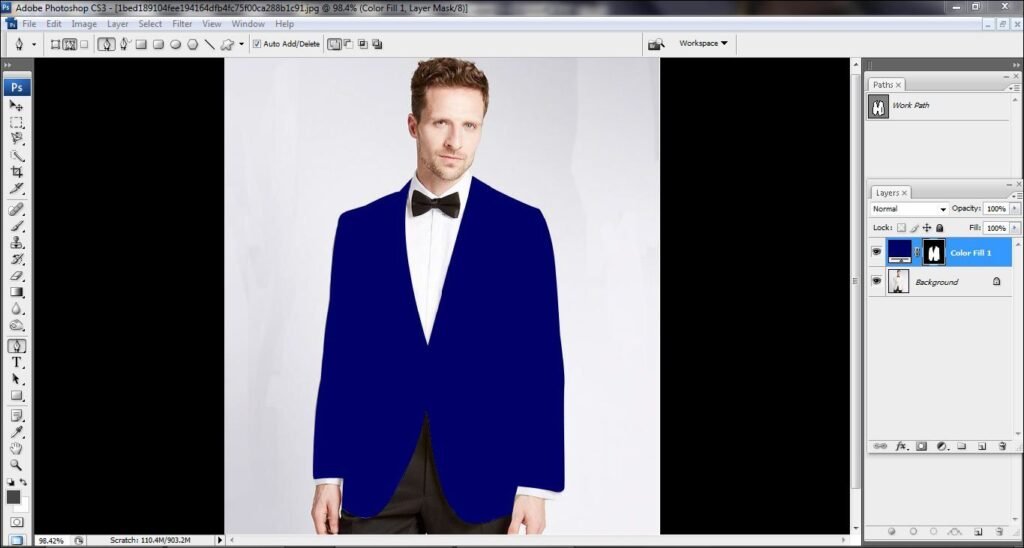
Step 5:
To select your desired color, go to Layer panel and click on the adjustment layer from the bottom of the layer panel and select solid color from there.
Step 6:
After clicking on the solid you will get a color panel having various colors. Here, we have selected Dark Blue as a color. When you put the solid color, you will not get the natural color.
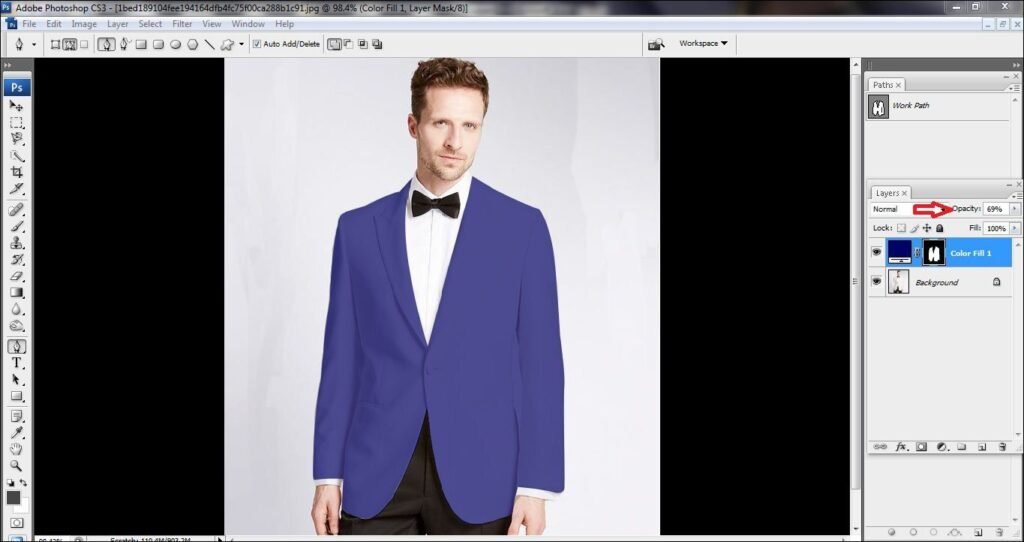
Step 7:
To make the color look normal, you have to adjust the opacity to give the perfect color. 100% opacity will give you a very loud color which makes the photo look gaudy. So, decrease the opacity by the slider until you get the desired color.
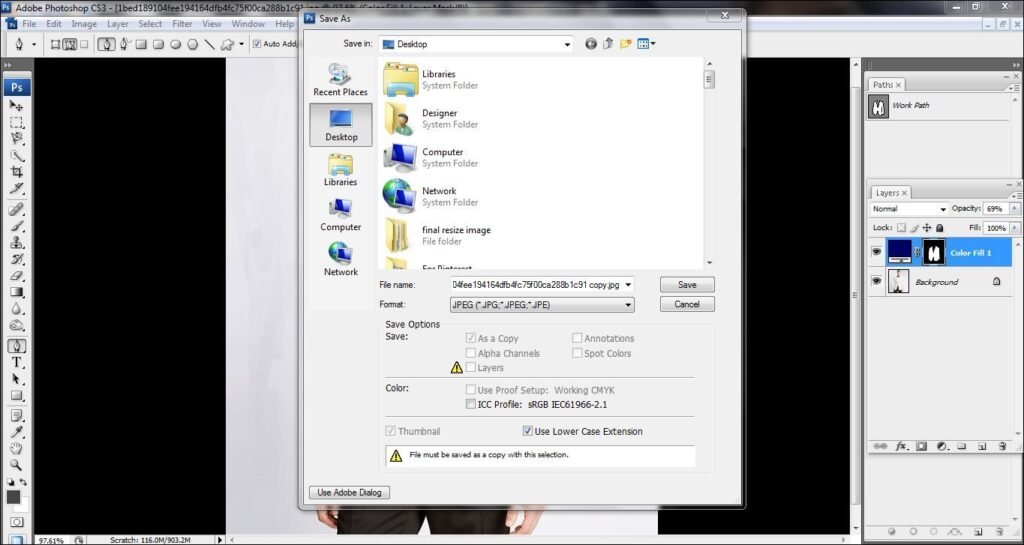
Step 8:
Now that you are done with coloring the cloth, you have to save the photo. To save the photo, go to File>Save As and save it in your desired drive.
conclusion
Dress color changing technique in Photoshop is known as color correction technique. By these steps, you will easily get different colors of your cloths by spending a short period of time. It is a very good opportunity for beginners to learn this technique by these 8 easy steps of changing dress color in using Photoshop. So start exploring Photoshop and try cloth color changing color correction.