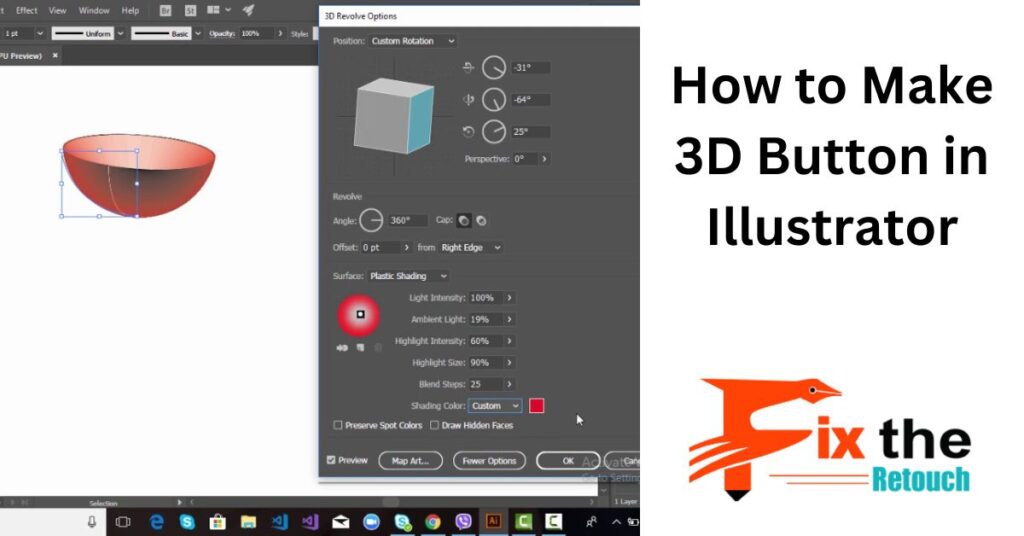
Crafting a 3D button within Illustrator can inject your designs with depth and engagement. Through the application of diverse tools and methods, you can attain an authentic 3D appearance that elevates the visual charm of your buttons. This blog will lead you through the process of producing a 3D button that becomes a focal point in your endeavors. Let’s get started!
Grasping 3D Design Principles
- Understanding Depth and Lighting: Exploring the role of depth and lighting in 3D design and their impact on creating visually appealing compositions.
- Selecting an Authentic Perspective: Delving into perspective choices and how to opt for one that suits your design context accurately.
Establishing Your Illustrator Document
- Choosing the Right Document Size: A guide to selecting the appropriate canvas size for your 3D button design, factoring in platform, purpose, and screen variations.
- Organizing with Artboards and Layers: Learning about artboard and layer organization to streamline your workflow and maintain a structured design process.
Crafting the Button Shape
- Using Shape Tools for the Base: Step-by-step instructions for using Illustrator’s shape tools to construct the foundation of your 3D button with precision and consistency.
- Adding Realism through Rounded Edges: Exploring techniques to add realism by incorporating rounded edges, enhancing the visual appeal of your button.
Infusing Depth into the Button
- Applying Extrude and Bevel Effect: A detailed walkthrough of applying the extrude and bevel effect, transforming your 2D button into a dynamic 3D object with depth and dimension.
- Fine-tuning Depth and Angle: Exploring adjustments to extrusion settings to attain the desired depth and angle for optimal lighting effects.
Enhancing with Materials and Textures
- Choosing Effective Color Palettes: Understanding color psychology and selecting suitable color schemes that align with your design’s purpose and intended audience.
- Leveraging Gradients and Textures: Exploring the usage of gradients and textures, including metallic finishes, to amplify the realism of your 3D button.
Elevating Realism through Lighting and Shadows
- Mastering Light Source and Direction: Grasping the concept of light sources and their influence on casting shadows and highlights that bring depth and authenticity.
- Crafting Shadows with the Blend Tool: Step-by-step guide to using the blend tool to create subtle shadow effects, contributing to the lifelike appearance of your button.
Integrating Icons and Text
- Strategic Icon Selection: Uncover the art of selecting icons that effectively convey your button’s purpose, enhancing user comprehension and interaction.
- Typography Tips for Readability: Learning typography techniques to ensure legible text on your 3D button that harmonizes with the overall design.
Perfecting and Refining
- Balancing Colors, Shadows, and Highlights: Exploring the iterative process of refining button elements such as colors, shadows, and highlights to achieve a cohesive and polished final look.
- Maintaining Design Consistency: Tips for upholding consistency in design elements, including color schemes, typography, and lighting, to create a unified button.
Exporting Your 3D Button
- Choosing Appropriate File Formats: Understanding the range of file formats for exporting your 3D button and selecting the most suitable one for your intended use.
- Optimizing Across Platforms: Learning how to optimize your exported button for diverse platforms and devices, ensuring a seamless user experience.
Advanced Techniques and Pro Tips
- Dynamic Hover and Pressed States: Exploring advanced design concepts by creating interactive states for your 3D button, enriching its interactivity and user engagement.
- Crafting Interactive Prototypes: Discovering tools and techniques for fashioning interactive prototypes to test the functionality and user-friendliness of your 3D button design.
Extra Techniques
Here are a few extra ways to make a 3D button in Artist:
- Utilize a high-goal picture for the button’s experience. This will assist with making a more sensible look.
- Utilize a delicate brush while applying the inclination fill to the button. This will make a smoother change between the tones.
- Utilize an unobtrusive shadow to try not to make the button look excessively phony.
- Explore different avenues regarding various shapes and sizes for the button. This will assist you with making a plan that is special to your requirements.
Conclusion
This comprehensive guide equips you with the knowledge and expertise to design captivating 3D buttons using Adobe Illustrator. By grasping the principles of depth, lighting, perspective, and design coherence, you can craft buttons that not only enhance visual appeal but also offer user-friendly experiences. With persistent practice and creative exploration, you’re ready to design 3D buttons that truly stand out in the digital realm’s landscape of interactive elements.

