
In today’s digital age, mastering “How to Merge Two Photos in Photoshop” has become a pivotal aspect of the broader art of photo editing, emerging as an indispensable skill for many. Among the myriad techniques available, merging two photos is a particularly popular and creative endeavor. With Adobe Photoshop, a frontrunner in the world of photo editing, this task is not just achievable but also delightful. In this guide, I’ll lead you through a detailed step-by-step process to flawlessly combine two images, unveiling a realm of artistic potential. Whether your goal is to create a mesmerizing piece of art from treasured memories or to design the ideal image for a festive card, our insights and methods will ensure your vision comes to life. Embark on this journey and experience the enchantment of merging with Photoshop!
1. Preparation:

Before diving into the merging process, ensure you have the latest version of Adobe Photoshop installed. Also, make sure both photos are saved in a compatible format, such as JPEG, PNG, or TIFF.
2. Open the Photos:
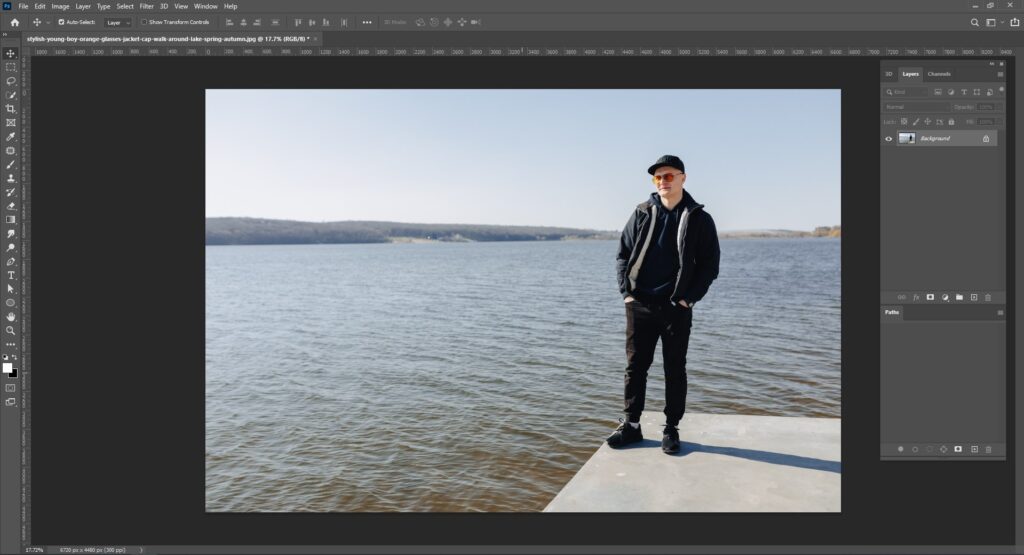
Navigate to File > Open and select your first photo. Repeat this step to open the second image. Having both images open simultaneously will make the merging process smoother.
3. Choose Your Workspace:

Photoshop offers various workspace layouts. If you’re working with multiple images, use the Arrange option under the Window menu. This will tile your open images, making it easier to switch between them.
4. Copy One Photo onto the Other:

Click on the photo you wish to copy. Using the Rectangular Marquee Tool (or press M), select the portion you want to copy. Navigate to Edit > Copy or use the shortcut Ctrl + C (Windows) or Cmd + C (Mac). Activate the second photo and paste the copied section using Edit > Paste or the shortcut Ctrl + V (Windows) or Cmd + V (Mac).
5. Position the Photos:
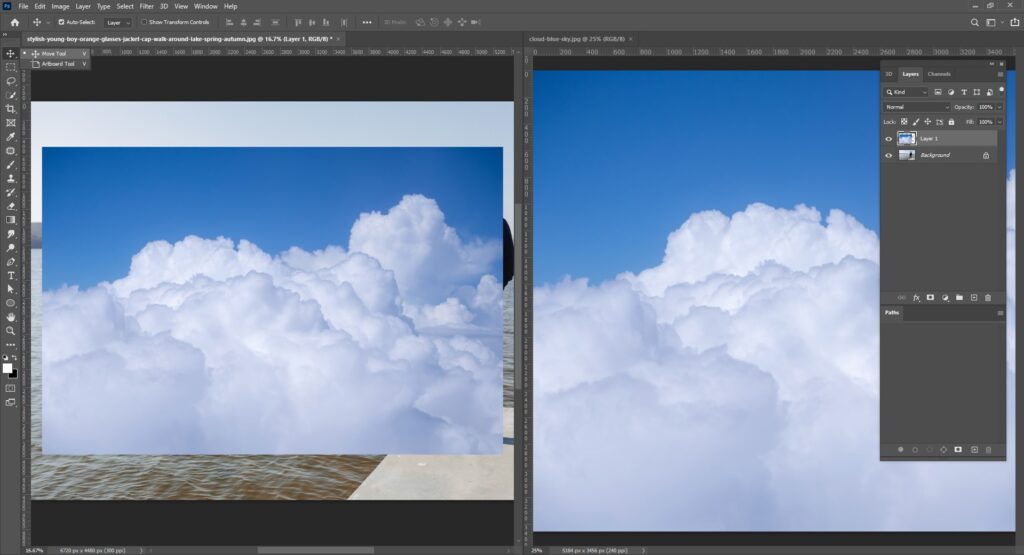
With the Move Tool (or press V), drag the copied photo to your desired position on the second image. This step is crucial for ensuring the two photos align perfectly.
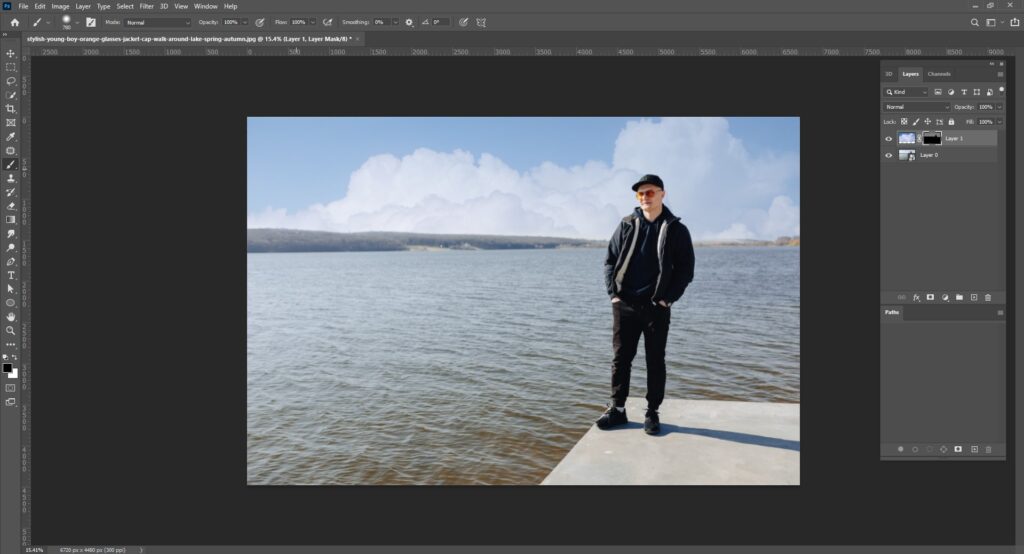
6. Blend the Photos:
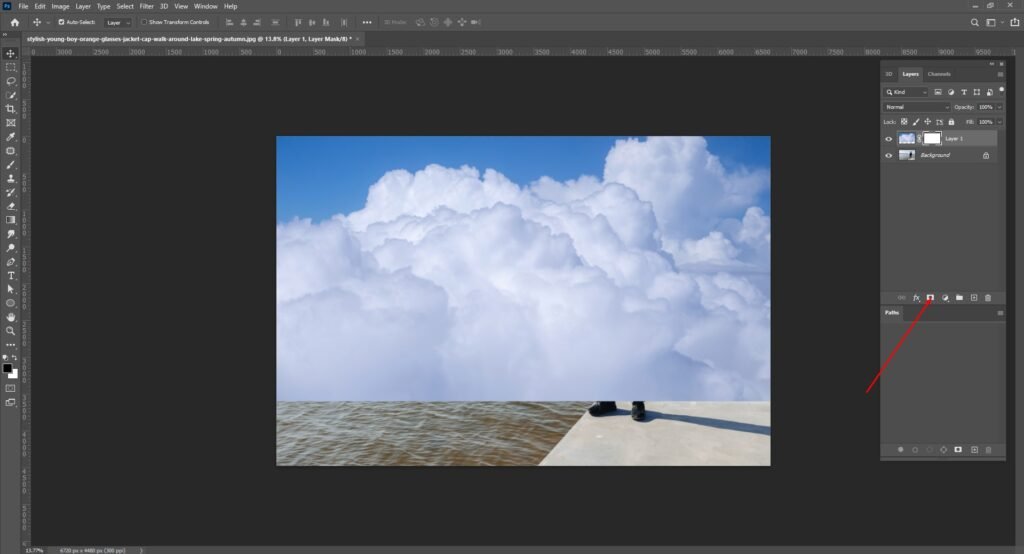
For a seamless merge, use layer masks and the gradient tool. In the layers panel, click on the Add Layer Mask icon. Then, select the Gradient Tool (or press G) and drag a gradient where you want the images to blend.
7. Adjust Opacity:
To make one photo more transparent, allowing the other to show through, adjust the opacity slider in the layers panel. This can create a dreamy, layered effect.
8. Further Editing:

Refine your merge using tools like the Eraser, Clone Stamp, or Healing Brush. These tools can help eliminate any noticeable seams or imperfections.
9. Save Your Merged Photo:

Once satisfied, save your masterpiece by navigating to File > Save As. Choose your desired format and location.
10. Final Thoughts:
Merging photos in Photoshop offers endless creative possibilities. With practice, you can master this skill and produce stunning composite images.
FAQs
Q: Can I merge more than two photos in Photoshop?
A: Absolutely! Photoshop allows you to merge multiple photos, not just two. The process remains largely the same. Open all the photos you want to merge, copy and paste them onto a single canvas, and adjust their positions and opacities as needed. The key is to ensure a seamless blend, especially when working with multiple layers.
Q: What if the photos have different resolutions?
A: If the photos have different resolutions, you might notice a difference in their quality when merged. It’s advisable to resize the images to a similar resolution before merging. Use the Image > Image Size option in Photoshop to adjust the resolution.
Q: How can I merge photos without making them look artificial?
A: The key to a natural-looking merge lies in blending and adjusting. Use layer masks, the gradient tool, and adjust opacity to ensure a seamless blend. Additionally, tools like the Clone Stamp and Healing Brush can help in refining the merge and making it look more organic.
Q: Can I add effects to the merged photos?
A: Yes, Photoshop offers a plethora of effects and filters. Once you’ve merged your photos, navigate to the Filter menu to explore various effects. Whether you want a vintage look, a dreamy glow, or a dramatic flair, Photoshop has got you covered.
Conclusion
In the vast realm of photo editing, mastering the technique of merging photos in Photoshop stands out as both an essential and artistic skill. From the initial steps of preparation and opening images to the intricate process of blending and refining, each phase plays a pivotal role in achieving a seamless merge. The flexibility of Photoshop’s workspace, combined with its powerful tools like layer masks, gradient tools, and opacity adjustments, ensures that artists can craft captivating composite images. Whether you’re blending cherished memories or designing a festive card, understanding the nuances of merging is crucial. As with any skill, practice and exploration of Photoshop’s myriad features will only enhance your proficiency. So, dive into the world of photo merging and unlock a plethora of creative possibilities.