
Adobe Photoshop is an integral asset for picture editing, offering a variety of elements that permit you to improve and control your photographs in various ways. One normal use of Photoshop is to carefully change body parts in pictures, for example, causing somebody to seem slimmer, expanding the size of muscles, or augmenting specific body parts. Whenever it comes the body enlarging, Body Retouching is the common basic fact while done the work. While it’s vital for use Photoshop capably and morally, this guide will give a step-by-step guide on the most proficient method to securely and successfully extend body parts in Photoshop.
Step-By-Step Guide: How to enlarge body parts in photoshop
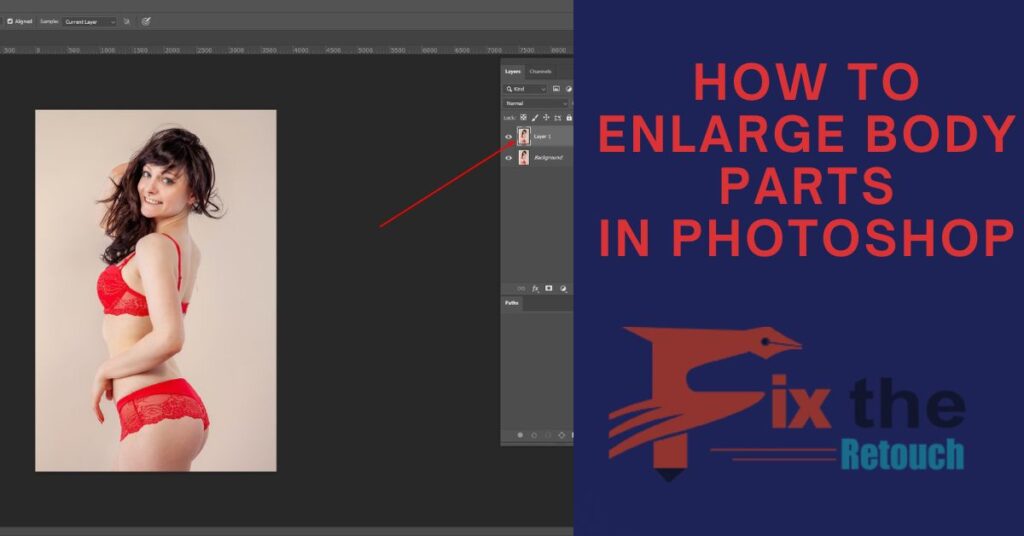
- Open Image
- Copy the layer
- Select the Body Part to enlarge
- Make Another Layer
- Use the Change Tool
- Refine Edges and wrinkles
- Change Brightness and Contrast
- Final Touch
- Save Your Work

Before

After
Open Your Picture
- Open Adobe Photoshop.
- Open the picture you need to alter by choosing “Record” > “Open” and picking your document.

Copy the Layer
Prior to rolling out any improvements to your picture, making a copy layer is fundamental. This will permit you to analyse the altered and unique adaptations and make changes depending on the situation.
- In the Layers board, right-click on the Foundation layer.
- Pick “Duplicate Layer” and name it as needs be.

Make Another Layer
To keep up with non-horrendous editing, put your progressions on another layer.
- With your choice dynamic, click the “New Layer” button in the Layers board.
- Name the new layer suitably.


Select the Body Part to Enlarge
- Select the “Lasso Tool” or “Pen Tool” from the toolbar.
- Cautiously frame the body part you need to extend.

Use the Change Tool
The Change instrument permits you to resize and reshape the chose body part.
- Select the “Edit” and pick “Free Change.”
- A jumping box will show up around your choice. Snap and drag the handles to resize the body part. To keep up with extents, hold down the “Shift” key while hauling.
- Click the mark of approval symbol in the choices bar to apply the change.

Refine Edges and wrinkles
To make the growth look regular, you might have to refine the edges of the altered body part.
- Select the “Eraser Tool” or “Mask” the layer, and cautiously eradicate any undesirable edges or regions.
- Use the “Blur” tool “Smudge” tool with a delicate brush to consistently mix the edges.
Change Brightness and Contrast
Once in a while, developing a body part can influence the general picture’s lighting and difference. To keep a decent look, change the brilliance and difference.
- Select the layer containing the broadened body part.
- Go to “Image” > “Adjustments” and pick “Brightness/Contrast.”
- Explore different avenues regarding the settings to coordinate the altered part with the remainder of the picture.

Final Touch
Now that you’ve effectively developed the ideal body part, now is the right time to make a few last acclimations to improve the general appearance of your picture.
- Use the “Clone Stamp Tool” to remove any defects or interruptions that might have come about because of the development.
- Apply any channels, variety changes, or impacts to make the picture look cleaned and rational.
Save Your Work
Whenever you’re happy with the changes, save your editing picture in a fitting record design. It’s a decent practice to save both the first and altered renditions for future reference.

Frequently asked questions (FAQs): enlarge body parts in Photoshop
1. Is it ethical to digitally enlarge body parts in photos?
Answer: The ethics of digitally enlarging body parts in photos can be subjective. It’s important to obtain proper consent and consider the implications of your edits. Generally, responsible and subtle adjustments for personal use or creative expression may be acceptable, but promoting unrealistic beauty standards or altering someone’s image without their permission is generally considered unethical.
2. How can I ensure that my edits look natural and not obviously retouched?
Answer: To make your edits appear natural, focus on refining edges, maintaining proportions, and matching lighting and contrast. Carefully blend the edited body part into the image using tools like the Eraser, Clone Stamp, and Blur tools. Subtlety is key, as overdoing the enlargement can make the edits appear obvious and unrealistic.
3. Can I use Photoshop to enlarge body parts in images for professional purposes, such as in the fashion industry or photography portfolio?
Answer: Using Photoshop to enhance images for professional purposes is common, but it should be done with care. Make sure that any edits are consistent with the industry’s standards and the client’s preferences. Always maintain open communication with clients to ensure their satisfaction.
4. Are there alternatives to Photoshop for editing body parts in images?
Answer: Indeed, there are options in contrast to Photoshop, like Adobe Lightroom, GIMP (GNU Picture Control Program), and different web-based photograph editors. Each device has its own highlights and expectation to learn and adapt, so pick the one that best suits your necessities and expertise level. The standards of moral altering and normal outcomes apply to these options also.
Conclusion
Adobe Photoshop is a flexible device that can be utilized for different photograph altering undertakings, including securely and morally extending body parts in pictures. In any case, it’s essential to utilize this ability capably, regarding individual assent and advancing reasonable body guidelines. Recollect that Photoshop is an expert grade programming, and to whom much is given, much will be expected. As you explore and refine your abilities, forever be aware of the moral and moral ramifications of your alters, and endeavour to make pictures that reflect positive and practical depictions of individuals.