In a portrait photograph skin tone of the model is very important. An inappropriate skin tone of a model may ruin your portrait photograph. Sometime a dark skin tone proves unlucky for the photo which may not match with the theme or concept or may not like a dark skin tone. So you may want to get light and a fair skin tone for your portrait photograph. To get a lighter skin tone at home, you need to know how to lighten skin tone in Photoshop. Adobe Photoshop has some amazing tools and techniques that help you to get lighten skin very easily. Again, you have to know some skin lightening tips and techniques and need to know how the tools are being used in terms of skin lightening in Photoshop. Fashion and modeling industries need this technique the most. Even the photographers are needed the skin lightening technique to provide the required photo to the clients. You are just few steps away to know the technique of how to lighten skin in Photoshop. Here we are showing the step-by-step process below.
Step 1:
The first thing is that you have to have Adobe Photoshop application for editing the photo. Open Adobe Photoshop. Then you have to open your desired photo to the application. To open the photo, go to File>Open and select the photo and click on Select. You can even drag the photo to the app. By dragging the photo, you will get the photo opened automatically.

Step 2:
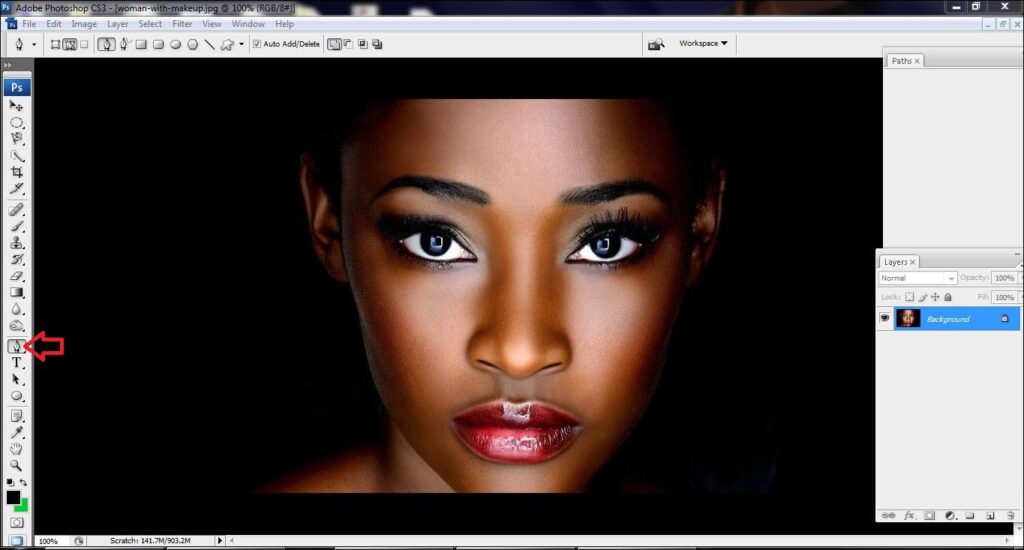
When you have the photo to Photoshop, you are ready to use the tools and work. At first you have to select the skin by making a clipping path. To create a clipping path, you have to choose a tool that helps you to do clipping path. In that case, Photoshop pen tool is the best. Select pen tool from the tool bar.
Step 3:
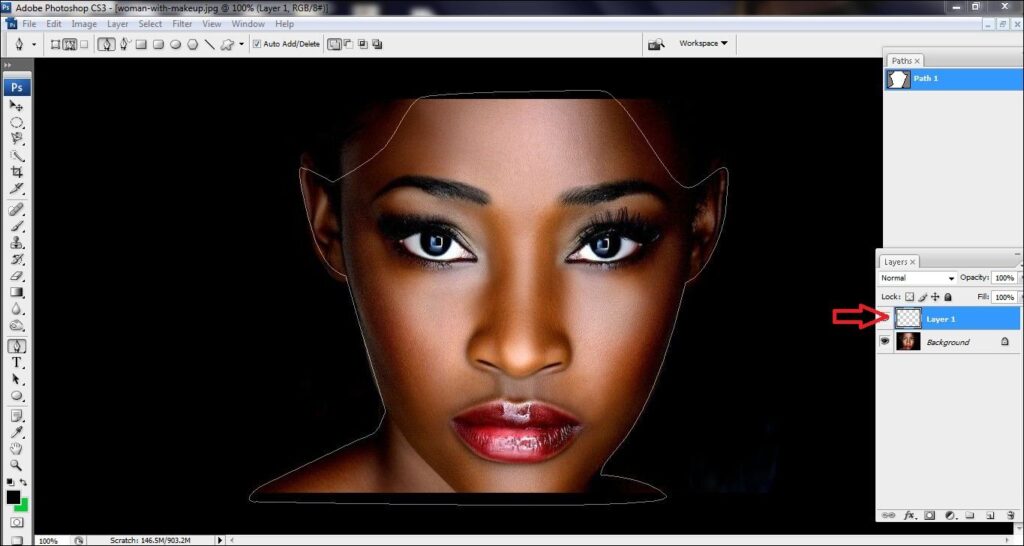
After selecting the pen tool, now start drawing clipping path. Close the pointer after covering the whole skin of the model by clipping path using pen tool

Step 4:
Add a new layer for further work. Click on the new layer icon on the bottom of layer panel. A new layer will automatically get created.
Step 5:
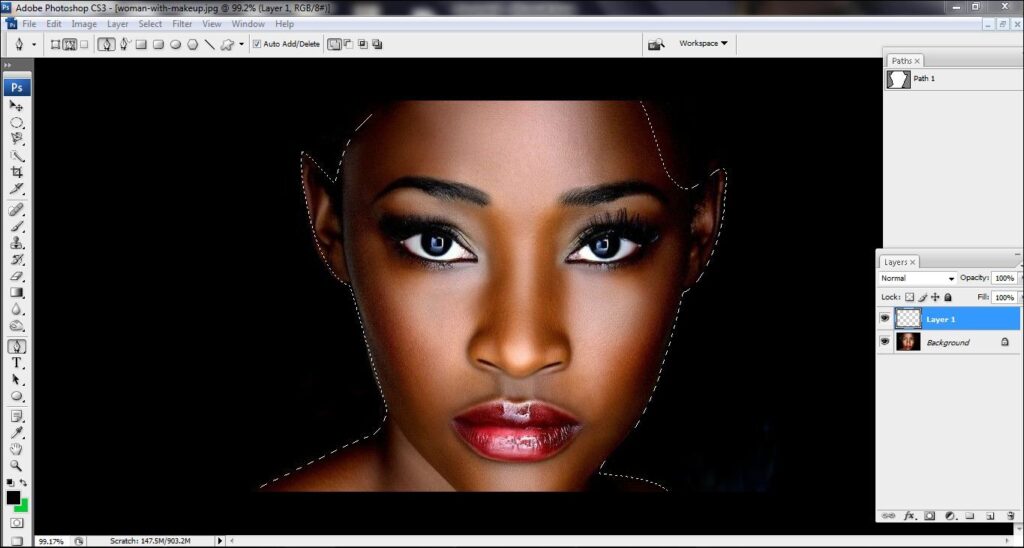
After creating a new layer, you have to select the clipping path. To select the clipping path area, press ‘control+enter’ or ‘control+click’ on path 1.
Step 6:
You need to go to the layer panel again and select selective color from the layer panel which is on the bottom.

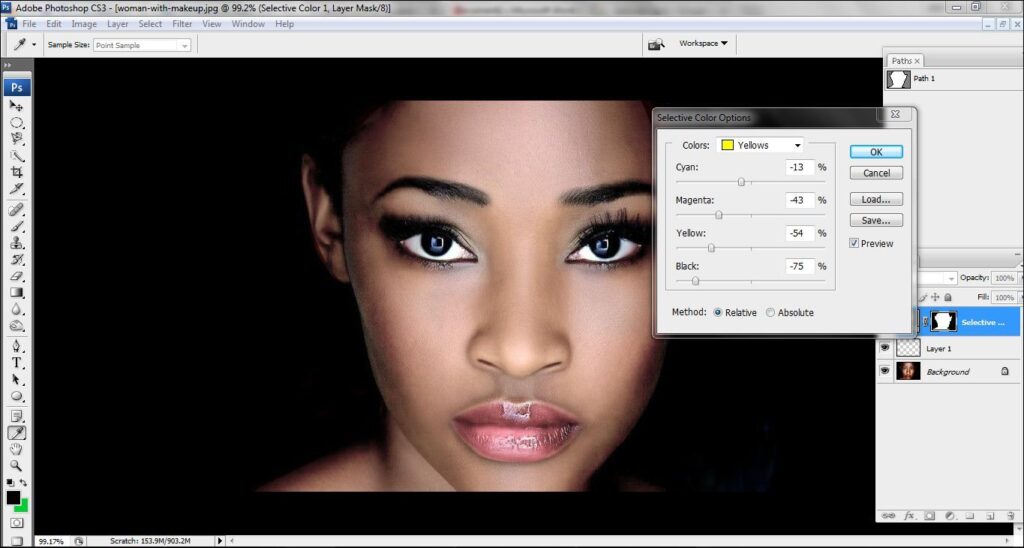
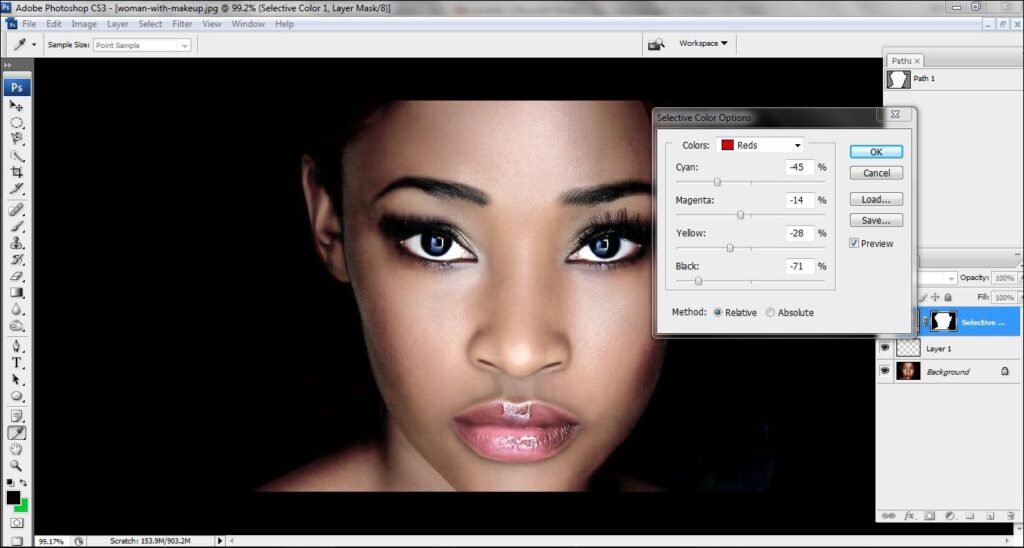
Step 7:
After selecting selective color, you will get a dialogue box that contains few colors. Choose the colors and adjust the radiance. Adjust the color as per your requirements. After adjusting the radiances, click on ok to finish the work.

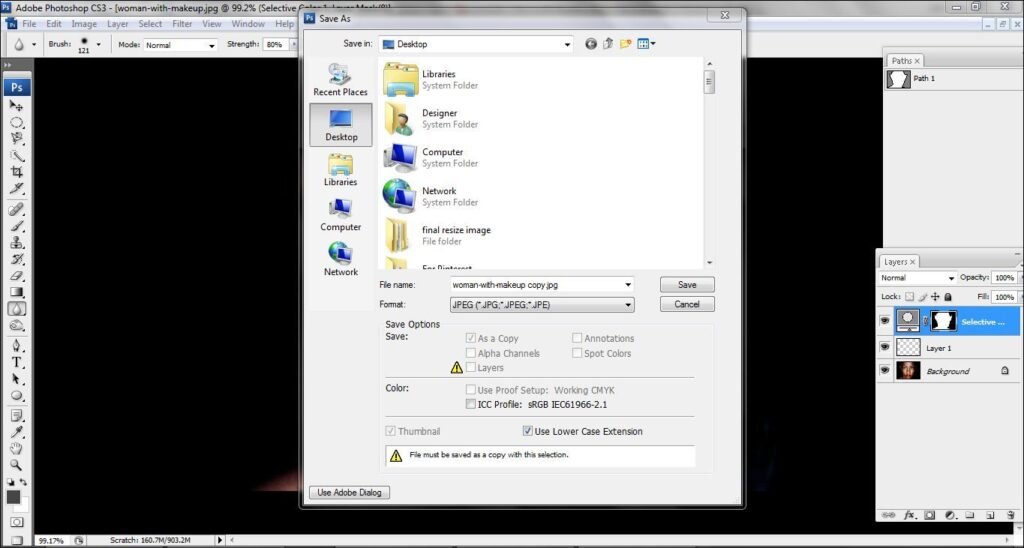
Step 8:
When you get your desired result, you need to save the file immediately. Now that you got the lighten skin, go to File>Save As. Choose your required format and click on save.
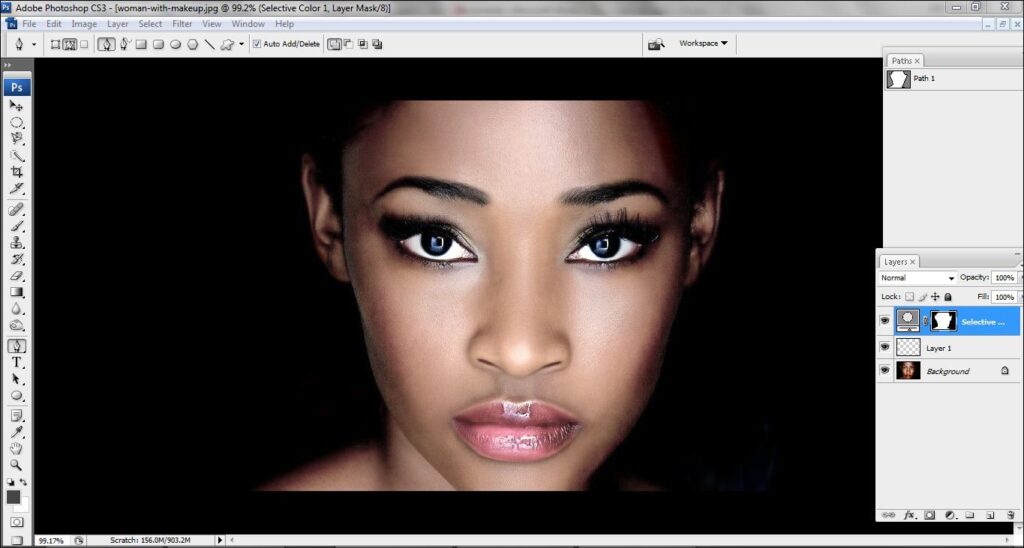
conclusion
For every kind of fashion photograph, it is very important to showcase the photo as per demand and requirement. If you do not want your model to showcase with dark skin tone, these steps on how to lighten the skin would help you on your professional projects. Be creative and tentative and enjoy light skin.